How to Install a Central Humidifier for Your Home?
Installing a central humidifier can greatly enhance the comfort of your home. Industry expert John Smith states, “Proper central humidifier installation is essential for optimal performance.” Without careful installation, many homeowners may face issues like uneven humidity levels or increased energy costs.
When considering central humidifier installation, it’s crucial to assess your home’s unique needs. Each home has different heating systems and layouts. This can complicate installation if not properly analyzed. A poorly positioned humidifier may not distribute moisture effectively, leading to damp spots or dry areas. Many overlook the importance of duct sizing and placement.
Moreover, many homeowners might feel overwhelmed by the technical aspects of installation. It’s natural to make mistakes, especially if you're a DIY enthusiast. If unsure, consulting a professional can save time and frustration. Balancing humidity levels is vital for health, but it requires attention to detail during installation.
Understanding the Benefits of a Central Humidifier for Your Home
A central humidifier provides numerous benefits for your home. According to the Environmental Protection Agency, maintaining indoor humidity levels between 30% and 50% can improve air quality. This level of humidity can reduce the spread of viruses, leading to fewer illnesses. Many homes experience dry air during winter months, which can cause problems like dry skin, irritated sinuses, and increased allergy symptoms.
Investing in a central humidifier can alleviate these issues. Research shows that proper humidity levels can enhance your comfort. Furthermore, it can protect your wooden furniture and floors from cracking. Some reports suggest that homes with humidifiers may see energy savings on heating bills, as humid air feels warmer. This concept can be especially appealing during colder months when heating costs rise.
Not all systems perform equally. Some models require regular maintenance, which might be overlooked. A poorly maintained unit can emit mold and bacteria, negating its benefits. Ensuring proper installation is crucial, as improper placement can also lead to uneven humidity distribution in your home. Balancing these factors can lead to a healthier indoor environment.
Choosing the Right Location for Installation in Your Home
When installing a central humidifier, the location is key. Statistical data suggests that 30% of homeowners overlook this aspect, leading to ineffective humidity control. Room selection impacts efficiency. Placing the humidifier in the basement can result in uneven distribution of moisture. Instead, consider areas close to the main living spaces.
Ideal spots include hallways or areas near the HVAC system. According to the Indoor Air Quality Association, optimal humidity levels should range from 30% to 50%. Humidifiers positioned away from vents can struggle to deliver adequate moisture. Think about the airflow. Locations obstructed by furniture may impede performance.
Additionally, mind the environmental factors. Direct sunlight can overheat the unit, reducing effectiveness. Ensure that the humidifier is not in a damp area. Excessive moisture from leaks can create mold issues. Regular checks are necessary to assess the placement. Adjusting the position a few times may yield better results. This iterative process of trial and error is essential for achieving desired humidity levels in your home.
Humidity Levels in Different Areas of a Home
Step-by-Step Guide to Installing the Humidifier Unit
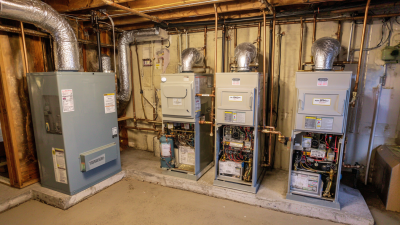
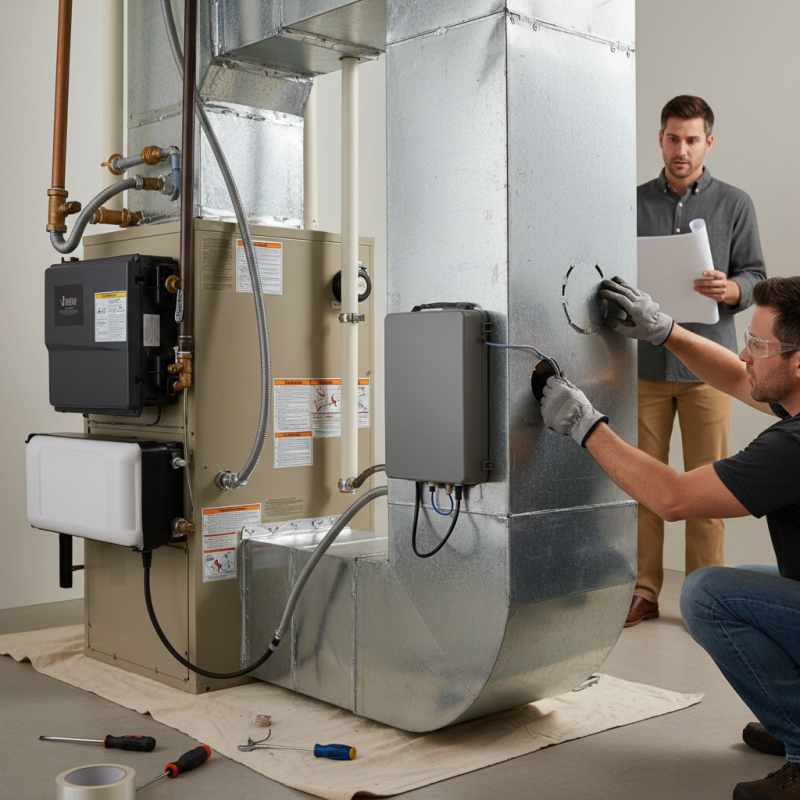
Installing a central humidifier can be a rewarding project. It helps maintain comfortable humidity levels in your home. The first step involves preparing the installation site. Choose a location near your furnace. Make sure to have access to water lines and electricity.
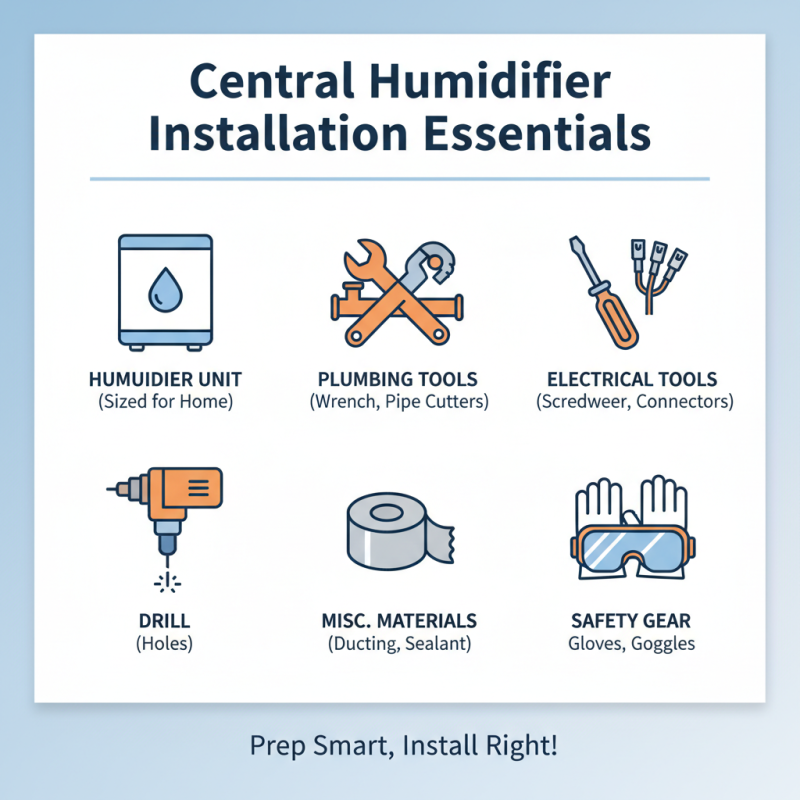
Next, gather your tools. You'll need a drill, screwdriver, and level. It’s tricky at times, like positioning the unit perfectly. The instructions may seem daunting. Take your time to read them thoroughly.
Once the unit is secured, connect it to the water supply. Pay close attention to secure fittings to avoid leaks. Testing the system is crucial. Watch for any unusual sounds or odd water flow. If something feels off, revisit your connections. Small mistakes can cause big issues later. Installing a central humidifier requires patience and careful work.
Connecting the Humidifier to Your HVAC System: A How-To Guide
Installing a central humidifier can enhance your home's comfort. Connecting it to your HVAC system involves several steps. Begin by determining the best location for your humidifier. Ideally, it should be near your furnace. This placement allows the humidified air to circulate efficiently.
Next, you need to shut off your HVAC system. Safety is paramount during installation. Afterward, connect the humidifier to the water supply line. Use a saddle valve for easy access. It’s essential to check for leaks after making these connections. Sometimes, you might need to adjust your humidistat settings. Finding the right balance can be tricky.
Once the humidifier is connected, turn on your HVAC system. Monitor the humidity levels regularly. If the air feels too damp or dry, consider recalibrating your settings. Pay attention to condensation on windows or walls. It's important to prevent mold growth. Installation may seem straightforward, but challenges can arise. Reflect on any difficulties encountered to find solutions for future projects. Each experience provides valuable insights.
How to Install a Central Humidifier for Your Home? - Connecting the Humidifier to Your HVAC System: A How-To Guide
| Step |
Description |
Tools Needed |
Estimated Time |
| 1 |
Turn off the HVAC system and electricity. |
Screwdriver, Circuit Tester |
10 minutes |
| 2 |
Choose an appropriate location for the humidifier. |
Level, Measuring Tape |
15 minutes |
| 3 |
Connect water supply to the humidifier. |
Wrenches, Piping |
30 minutes |
| 4 |
Attach the humidifier to the HVAC system's ductwork. |
Screws, Sealant |
45 minutes |
| 5 |
Turn the HVAC system back on and check for leaks. |
Circuit Tester, Water Gauge |
15 minutes |