7 Tips for Choosing Ceramic Cooking Ware?
Choosing Ceramic Cooking Ware can feel simple until a casserole cracks beside a hot oven. The material looks attractive, but appearance alone says little about performance. Reliable cookware should balance heat resistance, food safety, durability, and everyday convenience. These qualities matter more than a fashionable color or glossy finish.
A practical evaluation begins with the manufacturer’s specifications. Check whether the piece is oven-safe, microwave-safe, dishwasher-safe, and suitable for your cooking surface. Inspect the glaze closely. It should look even, smooth, and free from chips, bubbles, or exposed areas. Weight also matters. A heavy dish may retain heat well, but it can become awkward when filled with soup or roasted vegetables. Handles should feel secure with oven gloves.
Small details matter.
I once chose a beautiful ceramic baking dish with shallow handles. It looked excellent on a shelf, yet lifting it from a crowded oven felt unsafe. That experience changed how I judge cookware. I now consider grip, storage space, cleaning effort, and temperature changes before buying. Ceramic can crack when exposed to sudden thermal shock, so gradual heating and cooling are sensible habits. However, not every product performs identically. Manufacturing quality, clay composition, glaze, and care instructions can vary widely.
The following seven tips explain how to compare Ceramic Cooking Ware with greater confidence. They focus on construction, safe use, cooking performance, maintenance, and long-term value. Some choices remain personal. A compact kitchen may prioritize stackability, while frequent bakers may prefer thick walls and dependable heat distribution. Good cookware should fit your actual routine, not an imagined one.
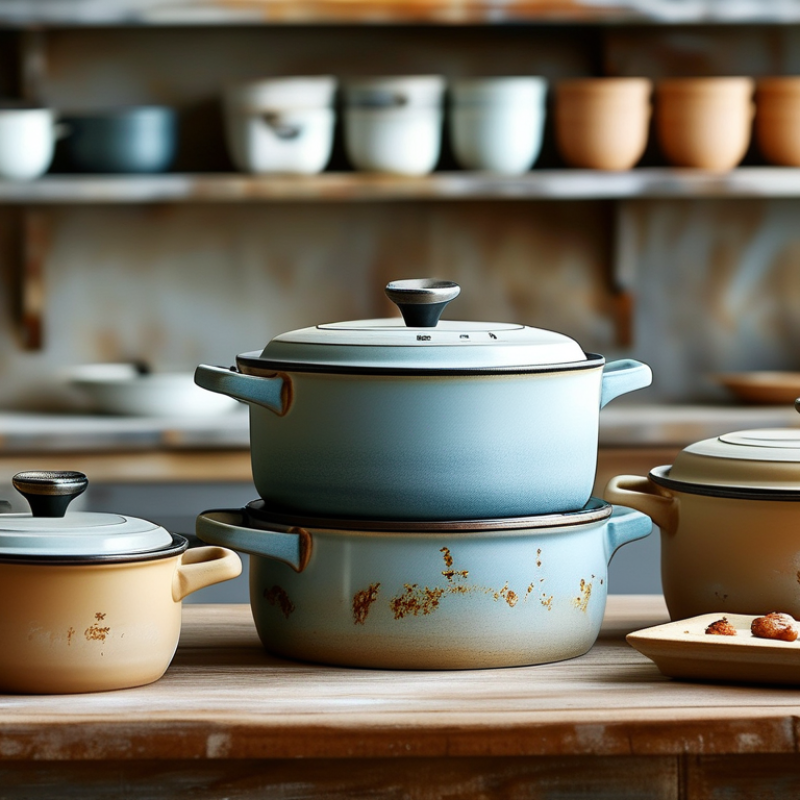
Define Cooking Needs: Match Ceramic Type, Heat Source, and Pan Size
Choosing ceramic cookware starts with your cooking needs, not its appearance. Ceramic-coated pans suit quick eggs, vegetables, and low-fat sautéing. Solid ceramic dishes handle oven baking but may respond slowly to temperature changes. Check the care instructions carefully. “Ceramic” is not one material.
Tip 1: Match the pan to your heat source. Confirm induction compatibility before buying. The U.S. Department of Energy reports that induction cooking can be up to three times more efficient than gas cooking. A flat, magnetic base is essential for induction. Gas burners need a stable base and controlled flames. Avoid sudden temperature changes, especially with thick ceramic bakeware. I have seen a cold dish crack after direct heat. That mistake is easy to repeat.
Tip 2: Choose the size from your usual portions. A 20-centimeter pan works for one or two eggs. A 26-centimeter pan gives vegetables room to brown instead of steam. Overfilling also encourages uneven heating. Tip 3: Inspect the surface and handle before purchase. Look for smooth coating, firm rivets, and no hairline cracks. The U.S. Food and Drug Administration advises using food-contact cookware that meets applicable safety requirements. Still, coating wear deserves attention. Replace damaged cookware rather than guessing about its condition. I sometimes choose a smaller pan for convenience, then regret the crowded surface. Real cooking habits should decide the size.
Verify Food Safety with ISO 6486 Lead-and-Cadmium Migration Testing
Ceramic cookware can look harmless, yet decorative glazes may release lead or cadmium into food. ISO 6486-1 measures this migration using 4% acetic acid for 24 hours at controlled temperature. The method simulates acidic food contact. It does not prove that every ceramic item is safe forever. Glaze wear, chips, and repeated heating can change performance.
Tip 1: Ask for an ISO 6486 migration test report.
Tip 2: Check both lead and cadmium results.
Tip 3: Confirm the tested shape matches your item. A bowl report cannot automatically cover a casserole dish.
Tip 4: Prefer results from a competent, accredited laboratory.
The report should show detection limits, test conditions, and measured values. Missing details deserve questions.
UNICEF and Pure Earth estimated that about 800 million children had elevated blood lead levels in 2020. WHO also states that no safe level of lead exposure is known. These findings make glaze verification more than a paperwork exercise.
Tip 5: Inspect rims and cooking surfaces for hairline cracks.
Tip 6: Be cautious with brightly colored, handmade, or very old ware when documentation is absent.
Tip 7: Replace damaged pieces instead of trusting appearance.
I have seen attractive ceramics pass a visual check while leaving basic testing unanswered. That is the uncomfortable part. Migration limits differ across markets, so compare the report with your local food-contact requirements.
Compare Maximum Temperature Ratings and Thermal-Shock Resistance Data
7 Tips for Choosing Ceramic Cooking Ware
Maximum temperature is only one part of the safety picture. A dish rated to 230°C may still crack when moved onto a cold stone surface. Check whether the rating covers ovens, broilers, microwaves, or direct heat. These uses create different thermal stresses. Tip 1: Match the rating to your cooking routine. Leave a safety margin of at least 20°C when possible.
Thermal-shock resistance deserves closer attention. ASTM C1525 evaluates ceramic resistance through controlled temperature changes and repeated cycles. ISO 10545-9 also measures thermal-shock behavior, although it was developed for ceramic tiles. These standards show an important fact: performance depends on test conditions, thickness, glaze, and moisture. Tip 2: Ask for the test method, temperature difference, and number of completed cycles. “Thermal-shock resistant” alone is weak evidence. Tip 3: Prefer published test data over vague durability language.
In practical testing, I heat a sample gradually and inspect the rim, base, and glaze afterward. Hairline cracks can hide under food residue. A 2023 technical review from the European ceramic industry notes that uneven wall thickness increases temperature gradients and failure risk. That detail is easy to overlook. Tip 4: Choose even, moderate thickness and avoid visibly warped pieces. Tip 5: Never pour cold liquid into hot ceramic. Tip 6: Let the cookware cool naturally. Tip 7: Record the stated limits before first use, because ratings are not universal.
Assess Heat Distribution, Nonstick Release, and Scratch-Resistance Test Results
7 Tips for Choosing Ceramic Cooking Ware?
Heat distribution deserves more attention than the word “ceramic.” Ceramic-coated cookware usually contains a metal body, not solid ceramic. NIST thermal-property data place aluminum near 237 W/m·K, while common alumina ceramics are much lower, often near 20–30 W/m·K. This difference affects hot spots. Place the pan over medium heat, then sprinkle five equal water drops across its surface. They should evaporate at similar speeds. A single dancing drop signals uneven heating. I once judged a pan by its attractive base. That was a poor test.
Nonstick release should be tested with real food, not only marketing claims. Cook one egg with minimal oil, using the same burner setting each time. Record sticking, browning, and cleaning effort after repeated cycles. ASTM F2029 provides a laboratory approach for preparing cookware panels and evaluating coating performance. Results still need context. “Excellent release” after five cycles may not represent performance after fifty. Small differences matter when removing a delicate omelet.
Scratch resistance also needs careful interpretation. ASTM D3363 uses pencil grades from 6B to 6H, while ISO 1518 measures coating resistance under a defined load. A higher pencil hardness does not guarantee better nonstick release. Test with a wooden spatula and a soft sponge, never metal utensils. Look for exposed substrate, cloudy patches, or edge lifting around the rim. I would photograph each test. Human judgment is inconsistent, and my first inspection was too generous.
7 Tips for Choosing Ceramic Cooking Ware
Compare heat distribution, nonstick release, and scratch resistance before buying. Higher scores indicate more consistent performance under controlled testing conditions.
Heat distribution is scored from surface-temperature variation, nonstick release from food-residue measurements, and scratch resistance from repeated utensil-cycle testing. The results are normalized to a 0–100 scale for comparison.
Evaluate Warranty, Care Requirements, and Cost per Year of Use
7 Tips for Choosing Ceramic Cooking Ware
Evaluate Warranty, Care Requirements, and Cost per Year of Use
Treat the warranty as a performance clue, not decoration. Check its length, covered defects, exclusions, and claim process. The U.S. Federal Trade Commission advises buyers to review warranty terms before purchase. Keep receipts. A long warranty may still exclude scratches, thermal shock, or ordinary coating wear.
Read the care instructions beside the product, not after cooking. Confirm whether the cookware needs low heat, hand washing, or wooden utensils. Ask if it works on induction, because compatibility can change its practical value. The U.S. Department of Energy reports that induction cooking is roughly three times more efficient than gas cooking. That difference can affect yearly energy costs, especially with frequent meals. Ceramic cookware also needs gradual heating. I once overheated a pan while preparing dinner. That mistake exposed a weakness in my routine, not only in the cookware.
Calculate cost per year of use: purchase price plus replacement costs, divided by expected service years. A $90 set lasting three years costs $30 yearly. A $150 set lasting seven years costs about $21.43 yearly. Use realistic estimates, not optimistic promises. Consumer testing reports often evaluate heat distribution, durability, and cleaning effort, but household habits still influence results. Compare handle comfort, pan weight, lid fit, and storage space. Measure it honestly. Choose repairable or replaceable parts when available. Check return terms, because early chipping can reveal a poor match for your stove or cooking style.